Introduction
Prosthetics design has seen tremendous advancements over the past few decades, largely due to the integration of advanced materials and technologies. Among these materials, polymers have played a pivotal role, offering versatility, durability, and biocompatibility. This comprehensive guide will walk you through the process of designing prosthetics with polymers, from initial concept to final product. Whether you are a student, a researcher, or a professional in the field, this guide will provide valuable insights into the fascinating world of prosthetics design.

1. Understanding Polymers in Prosthetics Design
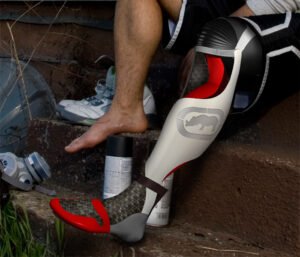
Polymers are essential in prosthetics design due to their unique properties such as flexibility, strength, and biocompatibility. These materials can be engineered to meet specific requirements, making them ideal for creating prosthetic limbs and other assistive devices.
Types of Polymers Used
- Thermoplastics: These polymers become moldable upon heating and harden upon cooling. Common examples include polyethylene and polypropylene, which are widely used for prosthetic sockets due to their adaptability and strength.
- Thermosetting Polymers: Unlike thermoplastics, these polymers solidify permanently after heating. Epoxy resins are a common example, known for their rigidity and durability.
- Elastomers: These are rubber-like polymers that provide flexibility and comfort, essential for parts of prosthetics that need to mimic the natural movement of human limbs, such as silicone rubber.
Advantages of Using Polymers
- Lightweight: Polymers are significantly lighter than metals, reducing the overall weight of the prosthetic and improving user comfort.
- Customizable: The properties of polymers can be tailored to meet specific needs, such as varying degrees of rigidity and flexibility.
- Biocompatibility: Many polymers are biocompatible, reducing the risk of adverse reactions when in contact with the human body.
- Cost-Effective: Polymers are generally less expensive than metals and ceramics, making prosthetics more affordable for patients.
2. The Design Process
Designing a prosthetic limb with polymers involves several critical steps, from initial concept to final product. Each stage requires careful consideration to ensure the prosthetic meets the functional and aesthetic needs of the user.
Step 1: Needs Assessment
The first step in prosthetics design is to assess the specific needs of the user. This involves understanding the type of limb loss or deficiency, the user’s lifestyle, and any particular requirements they may have.
- User Consultation: Engaging with the user to understand their expectations and daily activities.
- Medical Evaluation: Collaborating with healthcare professionals to evaluate the medical aspects and determine the best design approach.
Step 2: Conceptual Design
With a clear understanding of the user’s needs, the next step is to develop a conceptual design. This stage involves sketching initial ideas and creating basic prototypes.
- Sketching and Modeling: Creating initial sketches and 3D models to visualize the design.
- Material Selection: Choosing the appropriate polymers based on the required properties and the prosthetic’s intended use.
Step 3: Detailed Design and Engineering
Once the concept is finalized, the detailed design phase begins. This involves creating detailed drawings and specifications for the prosthetic.
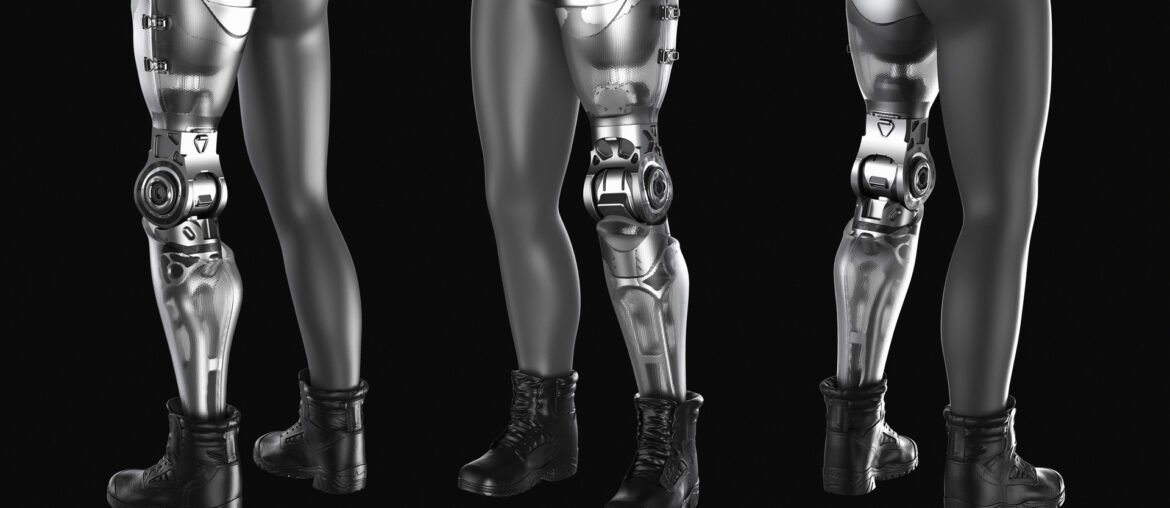
- CAD Modeling: Using computer-aided design (CAD) software to create precise 3D models.
- Finite Element Analysis (FEA): Simulating the performance of the prosthetic under various conditions to identify potential issues and optimize the design.
Step 4: Prototyping
Prototyping is a crucial step in prosthetics design, allowing designers to create physical models and test them in real-world conditions.
- 3D Printing: Utilizing 3D printing technology to create prototypes quickly and cost-effectively.
- User Testing: Conducting tests with the user to gather feedback and make necessary adjustments.
3. Manufacturing and Assembly
After successful prototyping and testing, the prosthetic is ready for manufacturing and assembly. This stage involves producing the final parts and assembling them into a complete prosthetic.
Material Processing
The chosen polymers need to be processed appropriately to achieve the desired properties.
- Injection Molding: A common method for producing polymer parts, particularly for high-volume production.
- Vacuum Forming: Used for creating customized sockets that fit the user’s residual limb precisely.
Assembly
Once the parts are manufactured, they are assembled to create the final prosthetic.
- Component Integration: Assembling the various components, such as the socket, joints, and any electronic elements for advanced prosthetics.
- Quality Control: Ensuring each part meets the required specifications and performs as expected.
4. Fitting and Customization
The final stage in the process is fitting the prosthetic to the user and making any necessary customizations to ensure comfort and functionality.
Initial Fitting
- Trial Fitting: Fitting the prosthetic to the user and making initial adjustments to ensure a good fit.
- User Training: Teaching the user how to use and care for their new prosthetic.
Final Adjustments
- Fine-Tuning: Making any final adjustments based on user feedback to optimize comfort and performance.
- Customization: Adding any aesthetic elements or additional features as requested by the user.
Conclusion
Designing prosthetics with polymers is a complex but rewarding process that combines engineering, material science, and patient care. Polymers offer unique advantages that make them ideal for creating lightweight, durable, and customizable prosthetic limbs. By following a systematic approach from needs assessment to final fitting, designers can create prosthetics that significantly improve the quality of life for users.
If you have any questions or experiences with prosthetics design, we invite you to leave a comment below. Your insights and feedback are valuable to us and the community.


